The Benefits of Homemade Masks
April 20, 2020
With the state of COVID-19 in the world today, there is a huge importance in social distancing. People who can stay home are told to stay home, as per the Stay Home, Stay Safe executive order by Governor Lamont. These guidelines, however, have raised questions about how people who must go out can stay safe and help slow the spread of COVID-19. Due to these concerns, it has been recently recommended by Governor Lamont and the CDC to wear face coverings while going out. However, with the increased demand for masks across the globe, it is increasingly difficult to find store-bought masks, and the most effective masks (N95) must be saved for our healthcare providers. This situation has given rise to the creation of various forms of homemade masks that can be made from simple and accessible household supplies.
Bandana Masks
Masks made from bandanas have become increasingly popular, as the supplies for them are most likely already in your home, and they can be made with a relatively small skill set necessary. The only materials required to make one of these face coverings is a bandana or any square of fabric and two rubber bands or hair ties. The advantage to these masks are that they are very easy to make at home and can be made relatively quickly. When made correctly, the bandana is thick enough to help protect against the spread of COVID-19. The priority in choosing a face covering is to pick the thickest option that will create as much of a barrier when going out in public. Therefore, while some fabrics are better than others, when the face covering is folded properly, the mask is a valid alternative to a real face mask, though not a perfect replacement. The disadvantage of this mask is that it can more readily fall apart, since it is only held together via folding and rubber bands.
How to Make a Bandana Mask
- You’ll need a square bandana or piece of fabric (large enough so that the folded product can cover both your mouth and nose) and two elastics (rubber bands or hair ties will work).
- Fold a bandana or a square piece of fabric on both sides towards the center.
- Turn the folded bandana around and fold again on those same sides towards the center.
- Turn the folded bandana around one more time and put a rubber band on each edge of the folded bandana that was not folded.
- Fold in those edges and tuck in one edge so that it stays together.
Sewn Masks
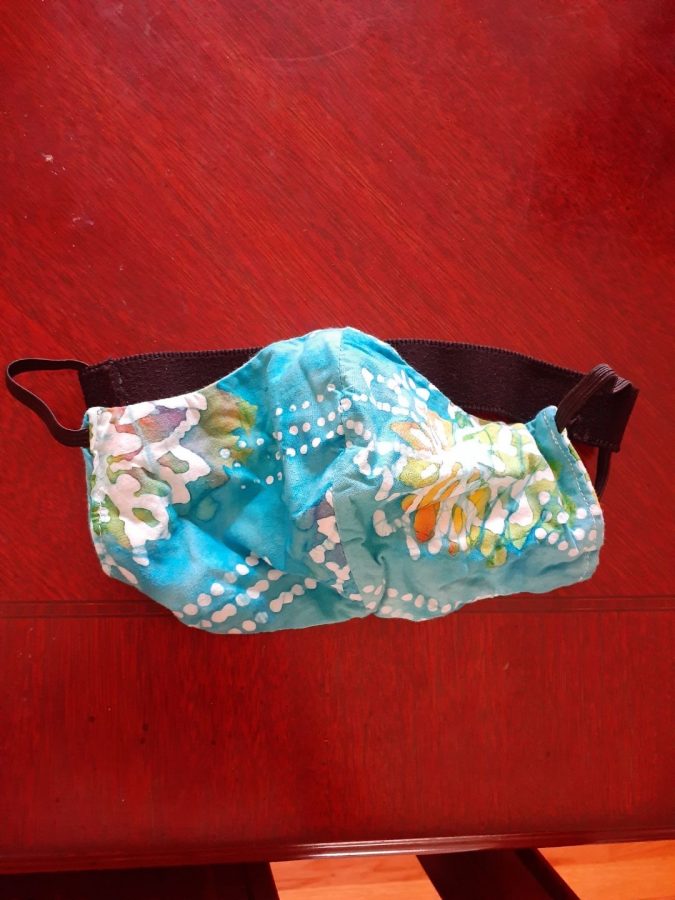
Many people have been using their sewing skills to create homemade masks for use if they must go out in public. These masks are good mimics of actual face masks and can be made by sewing together layers of fabric. The advantage to these masks is that they are more reliable and will not fall apart easily since they are sewn together. The layers of the masks help provide an additional barrier against COVID-19. The disadvantage to this mask is that it does require a basic skill set at sewing and the materials in order to properly sew a mask. Senior Elise Tuckwood’s family has been making these sewn masks at home. While they had never made sewn masks before, they had sewing experience and supplies to start making them. Elise explains that the sewn masks have been beneficial for her family: “Myself and my mum have been using them when we go to the grocery store or other essential travel.” Senior Alex Cole’s family has also been making sewn masks. While she has made one mask from fabric, her family has also made another mask from a work shirt, which they have been using when they must leave home for essential reasons.
How to Make a Sewn Mask
- You’ll need two 10-inch by 6-inch rectangles of tightly-woven cotton (sheets, quilting fabric, or even a shirt would work), two six-inch pieces of elastic (rubber bands, hair ties, string, or cloth strips will also work), a sewing machine, and a needle and thread.
- Stack the two rectangles of fabric
- Fold the longer 10-inch sides a fourth inch down, and sew them together.
- Fold the shorter, 6-inch sides half an inch over, and sew them at the edge, leaving a space open for the elastic to loop into.
- Thread the elastic through the opening from the previous step. Tie or sew the ends together.
- Tuck the knots inside the opening. Gather the short sides together, and stitch the elastic into place.
While homemade masks are a layer of protection when one must go out, it is important to note that people should only be going out for essential items. The best way to limit the spread of COVID-19 is still to social distance. If you do go out with these masks, remember to make sure that the mask covers both the nose and the mouth.